Thin Wire |
The Thin Wire Probe can be used to obtain the current or voltage at any location on a segment defined as a thin wire.
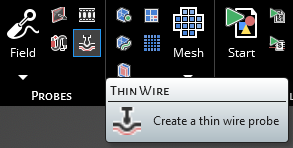
Click Thin Wire Probe
 within the Probes section under the EMA3D tab in the Ribbon.
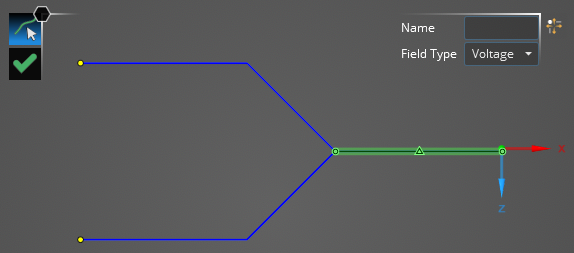
In the top left of the model window, the thin wire probe tools will appear. Users can change between voltage and current probes by selecting them in the Field Type dropdown menu.
Using the Select Line
 tool, select the line on which the current probe will be placed. The line will be highlighted when hovered over.
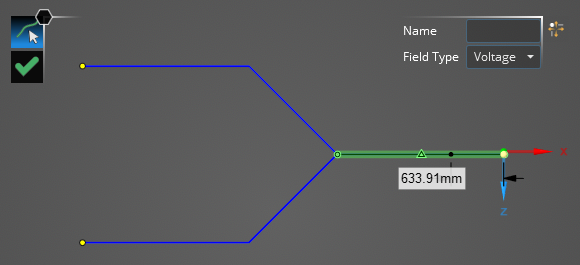
Start dragging the mouse. A placement tool will appear that states the distance between one of the thin wire's end points and the cursor. Click the location on the thin wire segment where the probe will be placed. Locations not connected to the previously-selected segment will not be selectable.
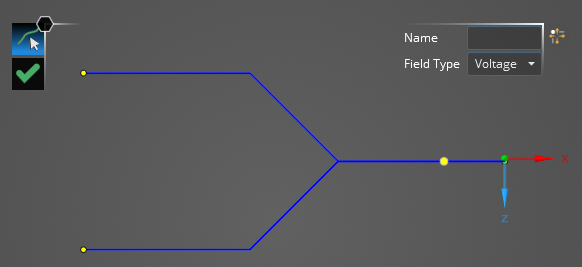
The probe location will be denoted by a yellow dot in the model window. Users may need to hide the junction or segment labels to see the thin wire probe.
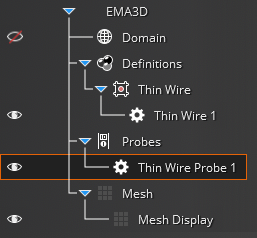
The current probe will be added to the Simulation Tree under the Probes node as Thin Wire Probe #.
Users can delete and rename thin wire probes in the Simulation Tree by right clicking them or double clicking them.

Entry | Meaning |
|---|---|
Name | Name of the probe. |
Field Type | Measure either voltage or current. |
EMA3D – © 2026 EMA, Inc. Unauthorized use, distribution, or duplication is prohibited.